|
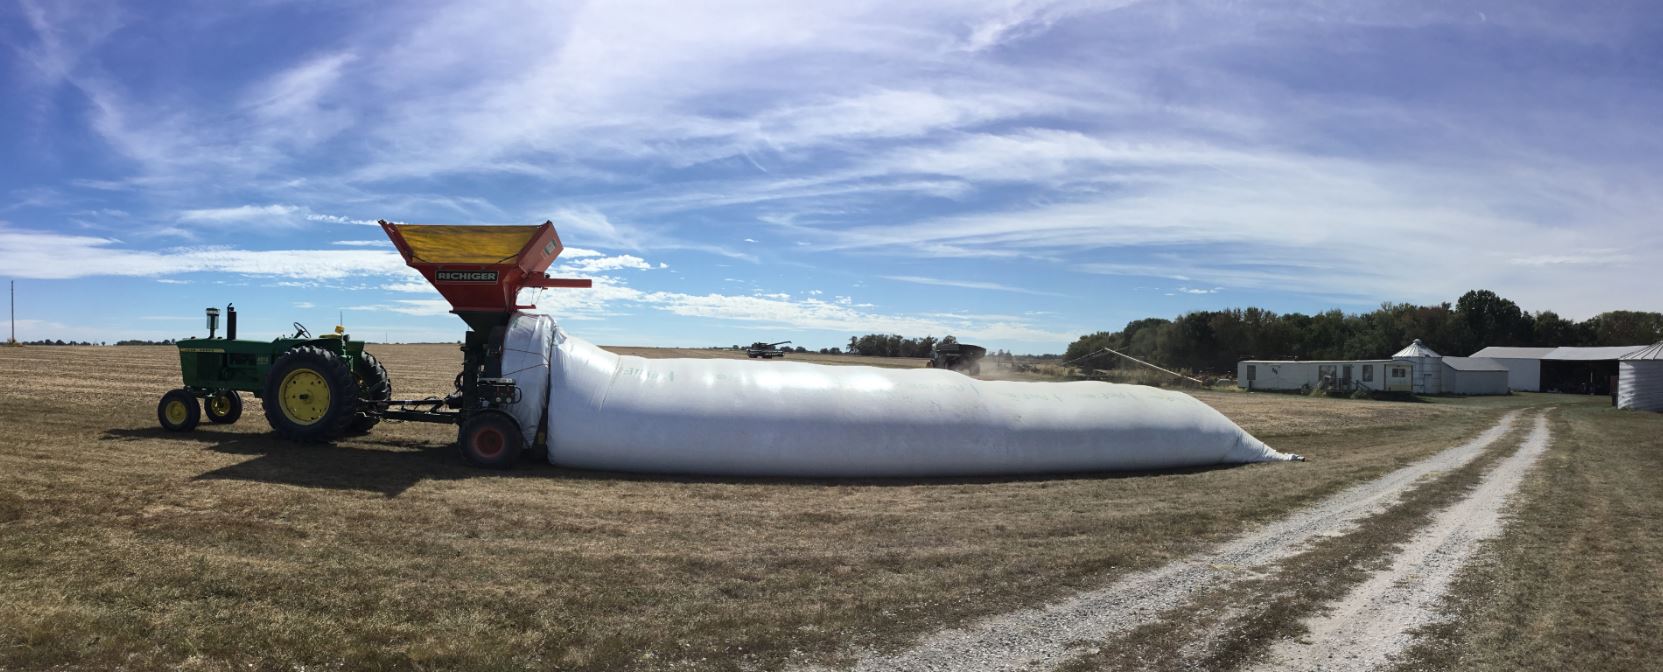
As we are in the midst of grain bagging season, I thought it would be a good time to discuss the proper way to prepare your site for grain bagging. Whether you are bagging grain for the first time this year or just need a refresher on techniques we have learned over the years to get the best results from your grain bags. So, let’s go! 1.Choose a Level Place: Pick the most level site you can find. If this isn’t possible for your farm, then keep in mind that you need to always bag down the hill or slope, never up hill. 2. Pick a spot away from forest: Always choose a place furthest away from wooded areas, or places you know there is always a pest problem. This is just a safeguard so you are not right up in animals roaming ground. Please note though, unless you spill grain or something, once the grain is bagged animals will not be able to smell it through the bag because it is air tight. To learn more about what happens inside a grain bag, check out this blog. 3. Knock down stubble: Whether it’s bean stubble or corn stalks, use whatever method you wish (disk, etc.) to knock that down in the spots you plan to place your bags. This will ensure there are no hard parts sticking up that could potentially poke your grain bag when its full of grain.
4. Apply ammonium nitrate (NEVER Sulfur): This is a technique that we have used on our farm for over 10 years and it seems to work great as just another level of deterrent for pests. Please never use Sulfur though, because sulfur will interact with the plastic and cause deterioration of your grain bag. 5. Set your bagger up, get your first bag on, and you are ready to bag! We have experienced staff on hand to assist customers with first time Richiger grain bagging. We see the most issues when people have never bagged before, and don’t properly prepare their site and get that first bag on correctly, so please don’t hesitate to contact us with questions. You can call or reach out to us on social media. Comments are closed.
|


 RSS Feed