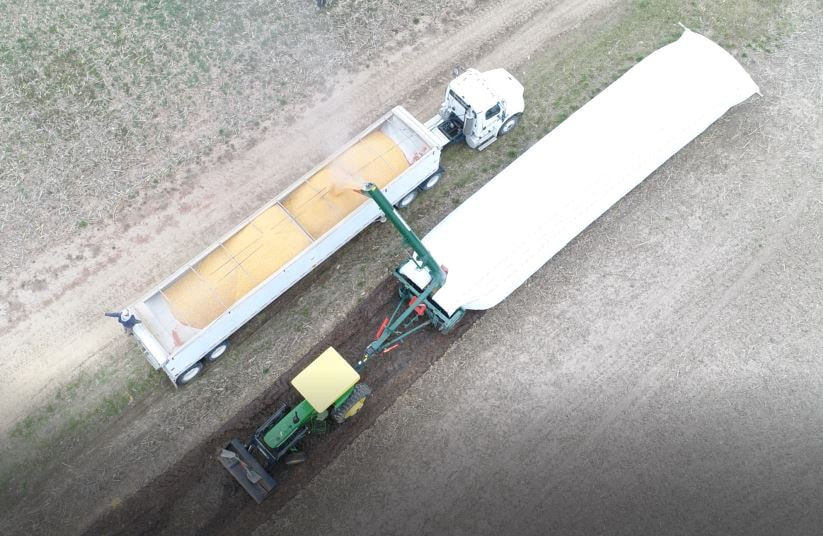
 The Situation: it might seem strange to already be talking about logistics for harvest 2020. Demand for corn at ethanol plants is down, (hopefully short term), caused by the collapse in the crude oil markets and waning fuel demand from Covid-19 etc. If this leaves you thinking about the crops you already have in bins, and what this means for fall, you’re not alone. We have been experiencing a high number of calls from farmers who are looking for solutions to help them this fall with regards to grain storage. A solution? Grain Bagging. 1. Either by bagging what you have in storage currently,(this grain has already been dried and conditioned), then utilizing your bins for new crop this fall OR 2. by keeping your current supply in bins and expanding your storage options by bagging this falls harvest, grain bagging can solve logistical and storage problems for you during uncertain market times. Our Story: We have been bagging grain on our own farm for 13+ years, as a way to retain control of our grain even in better times. Logistically it works better as we can bag directly in the field we are harvesting, and not drive back and forth to a bin miles away wasting fuel and time. We also like to retain control of our grain and get the very best price we can, so holding grain on our farm in bags vs sending it to the terminal where we lose control of it, is a better option financially. This is even more important to us in times of extreme uncertainty. Watch our 2018 Wheat Harvest ⤵️ See other farmers stories:
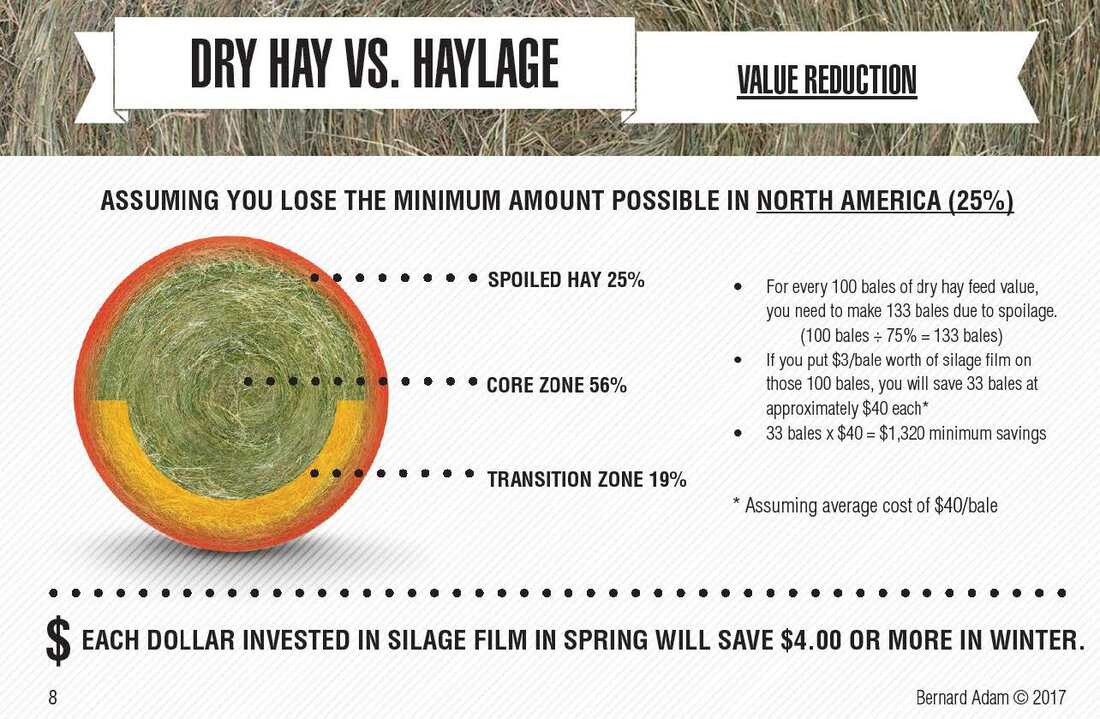
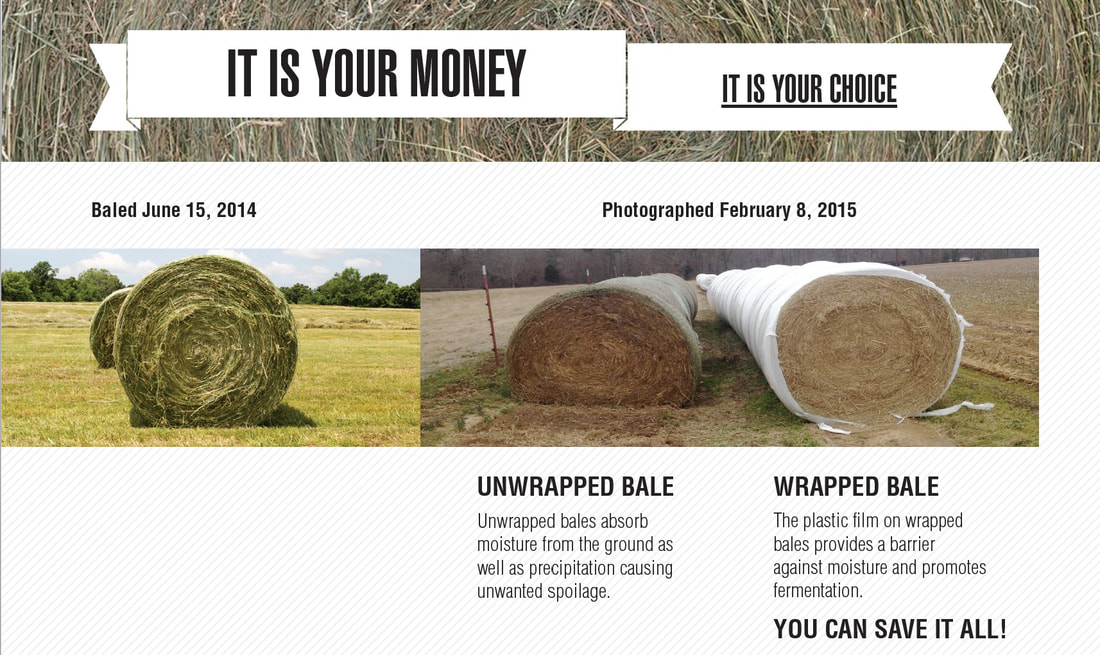
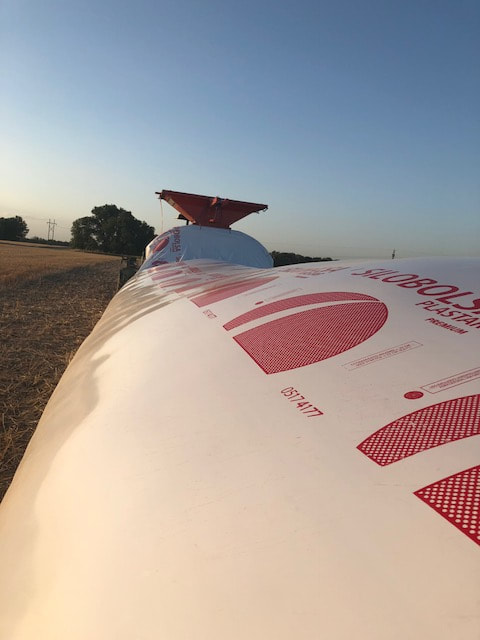
Time Line: Most of the time grain baggers are still available in the months close to harvest, but with the wave of calls and sales we have been getting, its best to plan ahead for fall now, rather than get left without options. How to: If you are new to grain bagging, here are some helpful posts we’ve made before answering customers frequently asked questions as well as best practices to be successful at bagging grain: http://www.showmeshortlineblog.com/blog/6-tips-for-bagging-soybeans http://www.showmeshortlineblog.com/blog/grain-bags-frequently-asked-questions http://www.showmeshortlineblog.com/blog/what-does-flexi-grain-storage-mean We also have experienced staff on hand to help get first time grain baggers off to a great start and also help with any issues regarding grain bagging, whether its on the phone or in person with our dedicated service team and service plane. Read more about our service department here: http://www.showmeshortlineblog.com/blog/customer-service-at-its-best 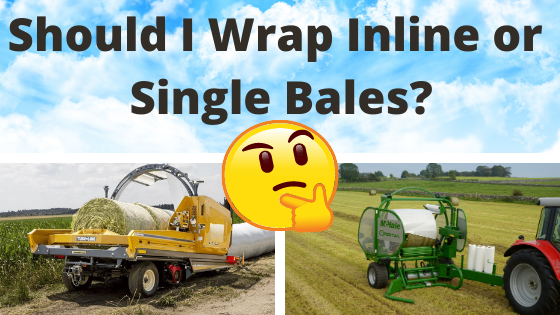 Hay ’20 has started in the Midwest! You might be looking at wrapping hay this year. Why do many farmers and custom operators wrap hay? There are several reasons to wrap your hay, including: • Minimize harvest loss • Reduced harvest time • Increase ADG (Average Daily Gain) • Minimize storage loss • Reduce feed cost • Reduce weather risk
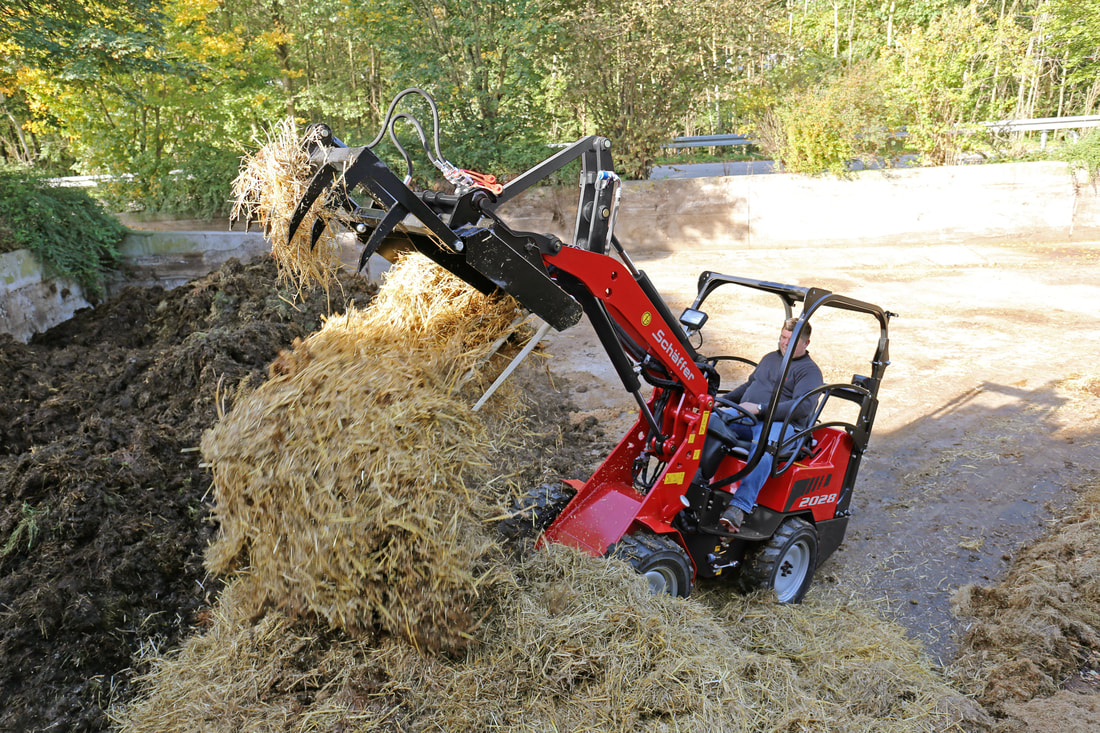
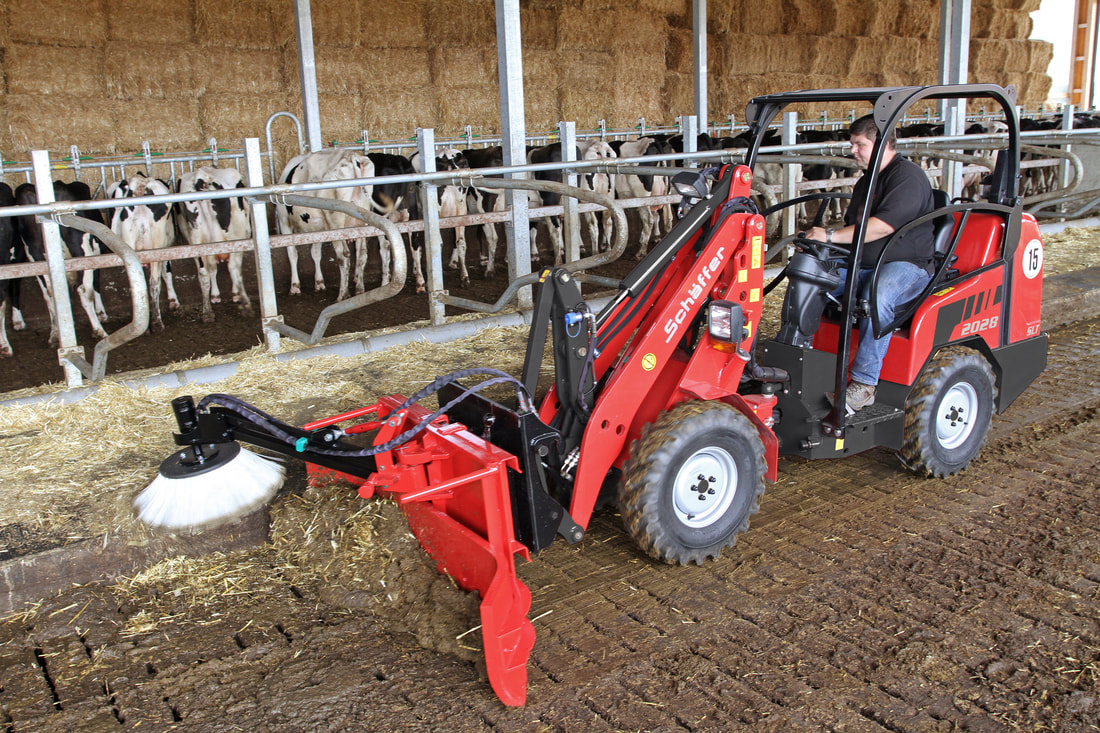
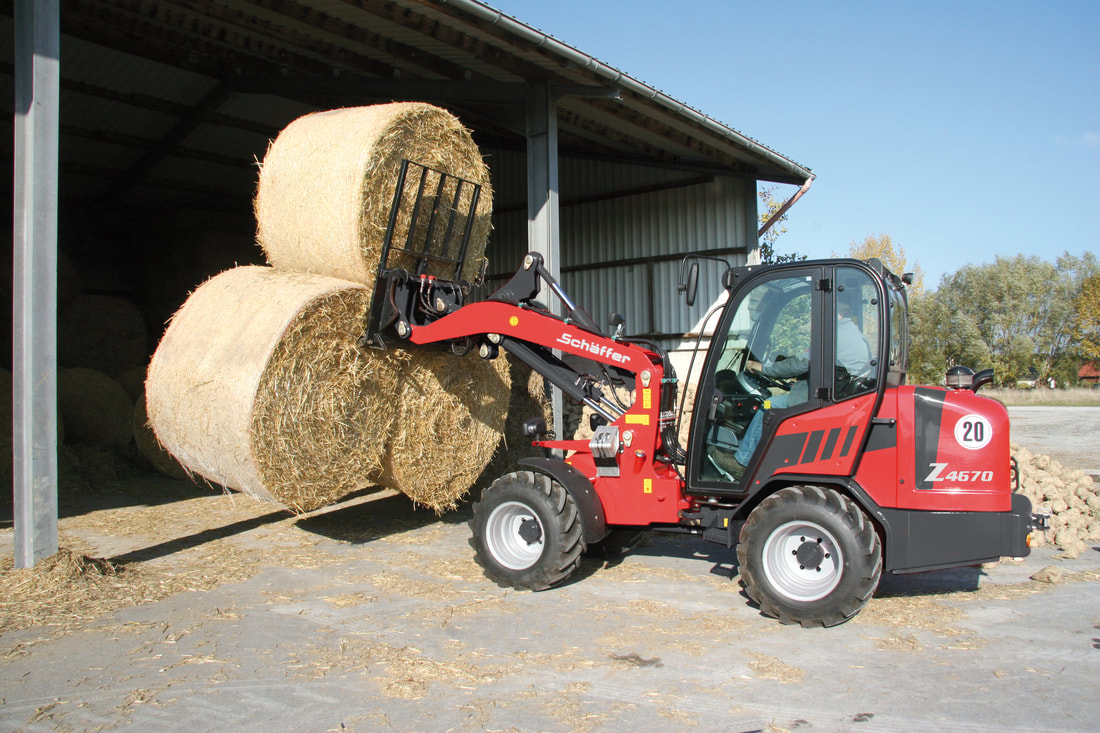
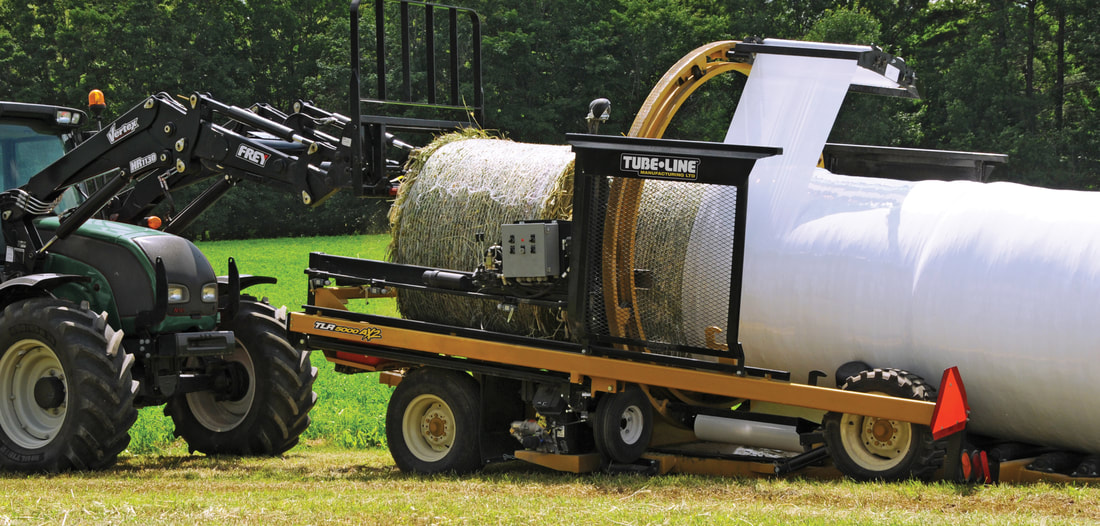
So which wrapper is best for you? InLine Wrapping: Inline wrapping is best for farmers who plan to feed from the hay all year and don’t plan to move the wrapped hay. You can sell hay wrapped inline, but its harder to market and makes moving bales a little harder. An advantage of wrapping inline is that you can save on plastic wrap, as you aren’t wrapping each bale individually. With a Tubeline wrapper You can expect to wrap 80 - 120 bales per/hr and have a 50% cost savings on plastic wrap. Single wrapping: Single balewrapping is best for farmers and custom operators that want to be able to market their bales better for sale, have the flexibility to move and handle the bales easier, and have less potential for spoilage if there does happen to get a rip in the plastic. You can expect to wrap 20-60 bales per hour if you are single wrapping. Single wrappers like the W2020, 991 High Speed and Orbital by McHale can wrap single bales in 30 seconds or less, letting you have the ability to wrap single bales at high speeds, even with the recommended layers of 6-8 layers of plastic. 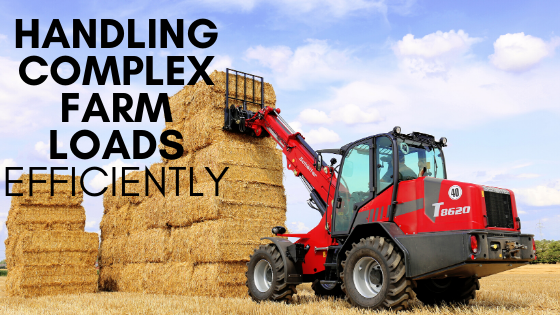 Safety is always a number one priority on the farm, and we’ve all read too many farm accident stories than we care to see. Loads on the farm have gotten to be heavier, the variety of loads have become more diverse, i.e. your handling seed tender boxes, heavy bales one day or seed bags the next day or a pallet of goods the next. And the places you’ve got to put it in are small and compact. A tractor works fine in great big open spaces, but even then sometimes we find that tractors are being used in jobs that they were not designed for and because of that, the chance of operating it beyond its designed engineered capacities makes the chance of an accident happening greater. That’s the reason we have wheel loaders. With a wheel loader you can not only use it for what it’s designed for, (lifting heavy loads), but you’ve also got a tool that you can easily handle those loads safely and in a versatile way, without exceeding the engineered capabilities of the machine. Coupled with third function hydraulics, transmission, telescoping booms, etc. the versatility of what you can do with a wheel loader is more than what you can do with a loader on a tractor. Wheel loaders have hydraulic capacities that allow you to put bedders on them, allows you to put bale feeders on them, allows you to do any number of farm chores where hydraulics can replace the PTO shaft. So if you want a machine that does multiple jobs on the farm safely, consider a wheel loader.
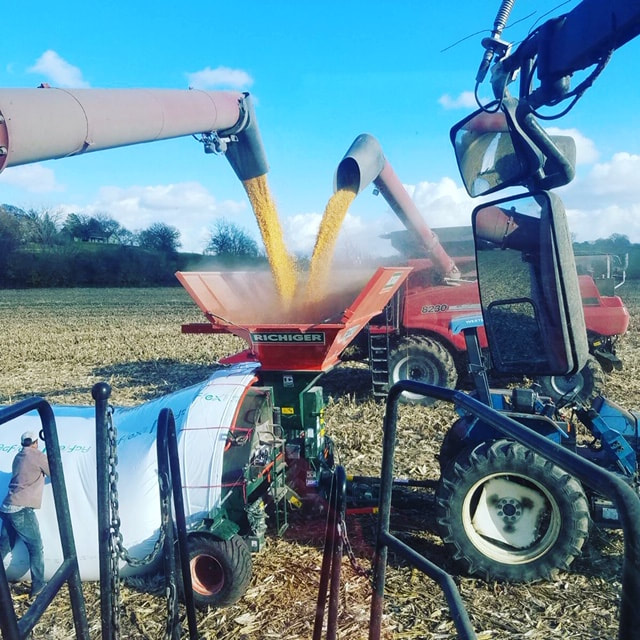
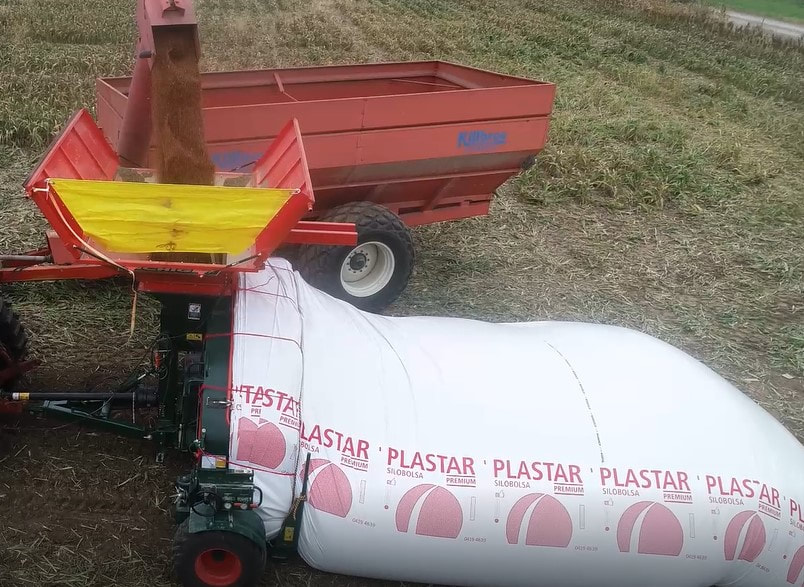
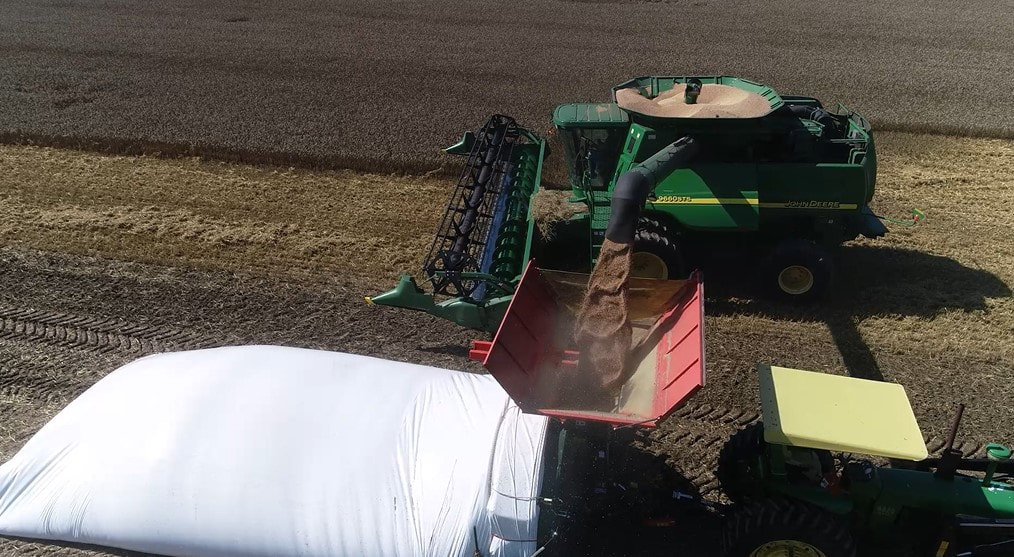
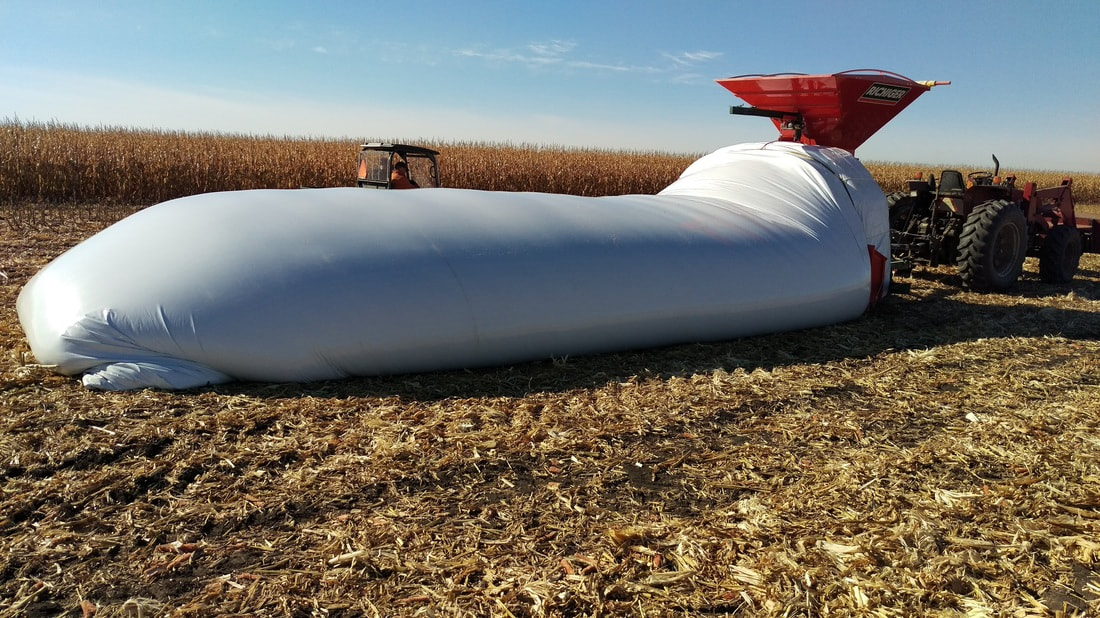
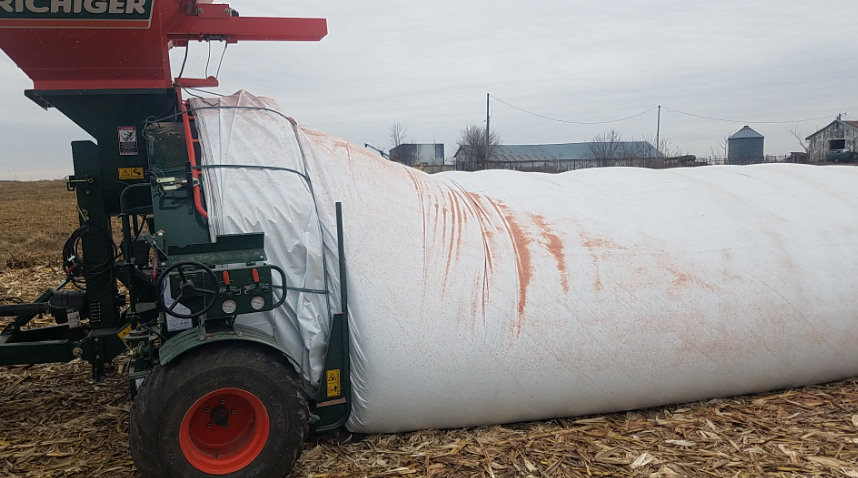
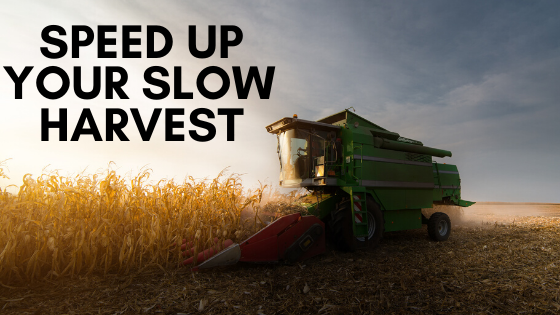 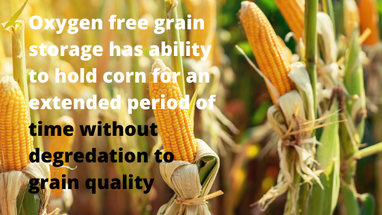 There is a lot of corn in the midwest that is too wet for bins (ie. 20% or higher moisture). This corn isn’t drying down in the field in a timely manner due to the period of the year we are in and weather conditions that are higher in humidity, have shorter days and lower air temperatures. This can severely slow down harvest if theres not enough dryer space and available dryers are running slower due to the weather conditions mentioned above. But theres a solution. Oxygen free grain storage, or grain bagging, can help. With grain bagging you will be able to harvest now, store grain for an extended period of time with no degradation to your grain quality, then unload into your dryer when there is space. But what exactly is oxygen free storage? Lets get scientific. Inside a grain bag is your grain, and whatever quality it goes in at, is what it will come out at. How does this occur? First, aerobic bacteria that is on your grain will use up the free oxygen available in the bag. While it does this, the bacteria are expelling Carbon Dioxide, which increases C02. Because of this, there is a decrease of deterioration in your grain, as well as controlling mold and insect infestation-because bugs cannot live without oxygen. There is no decrease in grain grade due to shrink (like in a grain bin) or oxygen degradation. So essentially there is not much going on inside the grain bag except protection from the outside world, which is just what you want. So by bagging near your grain dryer you can easily unload when the time is right and dry your grain. Want to see real farms who bagged grain this year? Check out the pics & videos below:
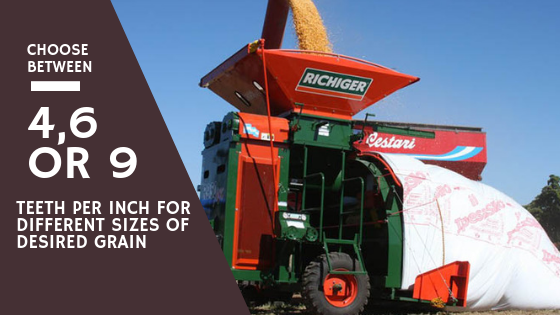
 With an estimated 80 million acres of soybeans planted this year, we expect many first time and continued grain bagger operators alike will have some questions about the best tips to bag soybeans. We get lots of questions about grain bagging, and we love educating. We have bagged grain (corn, soybeans, wheat) on our own farm for more than a decade. How do we accomplish this? To be honest, when you hear people having trouble with grain bagging its almost 99% of the time something that could have been avoided if some thinking and prep had been done ahead of harvest. So right now is the perfect time to start planning and prepping if you plan to store some of your grain in bags. These are best practices to use when bagging any type of grain , but today we are focusing on soybeans.  Prepare and Level your Site Now, before harvest, is a good time to start planning where you will place your grain bags. Pick the most level site you can find. If this isn’t possible for your farm, then keep in mind that you need to always bag down the hill or slope, never up hill. Always choose a place furthest away from wooded areas, or places you know there is always a pest problem. Level your site by grading or preferred method so if you get a hard rain while your grain is in bags, the water will run away from the bag, not to it. You can even create a “crown” and bag on top of that, ensuring that any rain will run away from the bag. You are also doing this to make the ground smooth so there aren’t sharp objects visibly sticking up that could puncture your bag. Spread Ammonium Nitrate If you are worried about pests or mice, spreading ammonium nitrate (never sulfur) down where your bag will go before bagging is a good idea. 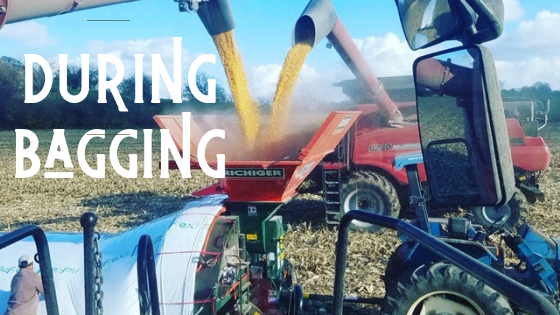 Use bag stretch indicators Any grain bag you use should have a stretch indicator on it that shows you how full to fill the bags. A general rule of thumb is that your plastic should never stretch passed 10% from its original size. Stretching your bag to the max should not be the goal, it should be the limit. Call if you’re not sure Its always better safe than sorry. We’ve been bagging grain for over a decade with continued success. If you have a question at any stage of grain bagging with a Richiger bagger, call our Service Manager Ted Finck at 573-823-9077 (direct line). Most issues can be handled with a quick adjustment over the phone. We also have a service plane that we use for issues we cant resolve over the phone that is able to land in your field and help on site quickly. Learn more about our service dept here. 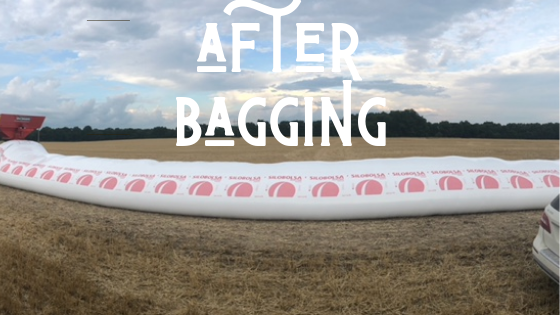 Check bags weekly Check your bags weekly just like you would your grain bins. With bags you are looking for any tears or holes in the plastic. If you see a tear or hole, there is bag repair tape that should be used to repair that and it works great. Use Creolin 1x a month After you’ve bagged your grain and if you are still worried about pests or wildlife, spraying a light spray of Creolin over the top and sides of your grain bag will almost guarantee nothing will want to be around it. This has a recommended repeat of 1x a month. Check out some footage below of us bagging grain on our own farm.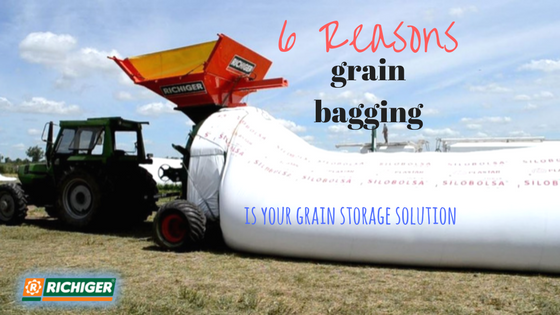 Due to global and local demand for food, lack of storage, prices, trade wars and farmers wanting to take more control over their grain, grain bagging has become a popular extra storage solution. We have been bagging grain on our farm for 12+ years bagging soybeans, wheat and corn. Let’s take a look at some reasons you might choose to bag your grain:  1. Grain bags keep your grain protected in an oxygen free environment. This oxygen free environment virtually eliminates insects and molds without the use of chemical substances. Most mycotoxins and yeasts, including aflatoxins, cannot prosper in this anaerobic atmosphere that is hostile to pathogens. 2. Grain bagging gives you all the storage capacity you will ever need whether you need to store 30,000 or 1,000,000 bushels of corn, barley, soybeans, rice, canola, sunflower, or any other grain. 3. Fuel costs are decreased because you can bag your grain right in the field, and not have to travel back and forth to the grain bin, often located a distance from the field you are harvesting. Your cost for hired help can go down too, we have seen some of our customers decrease their truck and hired help load to half of what it was before they started bagging grain. 4. Time is saved, our R1090 10ft bagger bags at a rate of approximately 39,000 bushels per hour and our E6910 unloader will unload 9 or 10ft bags at a rate of approximately 13,800 bushels per hour. Because the bag is oxygen free, fans are not needed- eliminating any shrinkage of grain or electricity costs. Your cost for the bags will be only about 0.7 cents a bushel. 5. There is no property tax on bags, where there is with a fixed grain bin. And if you no longer need the bagger, you can always sell it- that’s pretty hard to do with a grain bin. 6. Bagging your grain gives you leverage to sell grain when the price is right, giving you back control of your grain and eliminates hasty decisions that can result in money lost Watch our 2018 Wheat Harvest Below!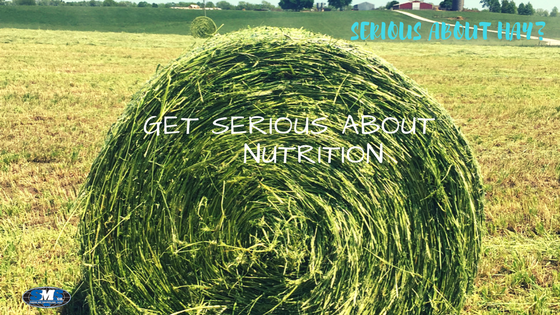 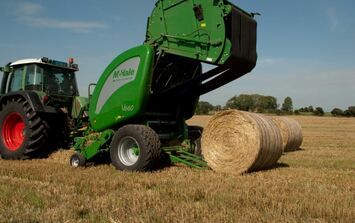 We love talking to customers about how our products made their operation better. Today we talked with Mark Goode from Louisburg, Kansas about his purchase of a McHale V660 baler last year. Mark made these points about his operation last year vs. the years previous. -Mark was able to double crop last year with rye and beans sooner because he could bale and wrap his high moisture hay and didn’t have to wait for the hay to dry out. He stated that this caused no soil erosion and the fertility of his ground stayed strong all year round. -He found 20% better consumption from his cows with his bales being chopped by the McHale baler vs. long stem hay that his cows wasted because they picked through it to pull it out. -Last year was the first year he never had to supplement his cow/calf operation. And he believes the overall health of his cows has increased. -He achieved 10% better density of his bales with the McHale baler because it chops the hay then packs it tight- getting as much material in a 4x5 bale as other balers get in a 5x6 bale- and he didn’t have to worry about the cows being able to easily eat the bale because it was chopped. -Mark said that “the future of farming has to do with 3 factors: productivity, predictability and economics.” And he believes that his baler improves all three. For productivity, he referenced his double crop, predictability is being able to bale and wrap high moisture hay and not wait for it to dry, and improved economics includes the increase in money you can make by double cropping, seeing your cows gain more weight with silage and not having to supplement your cows. -Mark also was comforted by the fact that he sees lots of McHale balers that have 20,000-30,000 bales through them and are still selling for good use- something you don’t see with other balers. -Lastly, Mark said for other farmers thinking of investing in a McHale baler, “you can double your capacity if you invest in the right equipment.”  By now, most farmers have heard of the concept of bagging grain- it provides an easy extra storage option because you can bag directly in your field and keep your combines running. But most of the grain bagging we talk about is grain that has up to 14% moisture and will eventually be sold. What about grain that will have higher moisture and be used for livestock feed? This would be considered high moisture grain, and it will take a special machine (ie. A crimper/bagger) to achieve this. Here are 9 reasons you would want to bag high moisture grain for use in feeding livestock:
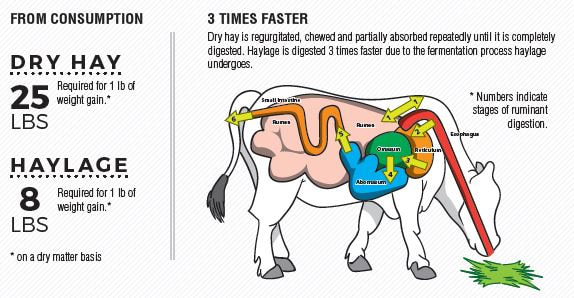
 4. Grain attains its highest nutrient level, dry matter yield and palatability and ease of assimilation after fermentation progresses to its last stage at these high moisture levels in an acidic environment, in about a months time. The product remains virtually unaltered as long as the grain feed is not exposed to air. 5. Crimped grain has been traditionally processed in pits lined with plastic, but bagging has the enormous advantage of automatically providing the compression and the anaerobic atmosphere required, as well as a steady processing pace. Once crimped and ensiled, grain undergoes lactic fermentation in the absence of oxygen. No further processing is required afterward, saving on time and handling. 6. Energy use and costs diminish as grain does not have to be dried. Crimped grain is dust free, healthier for workers and stock. 7. Crops are harvested on average 3 weeks before conventional dates, at the time of their peak nutritional value. And at an earlier state than when fungal diseases emerge. 8. Earlier harvest allows easier programming of combine use and timelier establishment of following crops for improved land management. Field grain losses diminish when combining ahead of time. 9. Crimped grains are ideal concentrate feed for ruminant livestock ranging from calves and lambs to dairy cows, beef cattle and adult sheep. The inclusion of crimped feed in livestock rations results in better rumen stability and conversion efficiently. Non ruminants can also benefit from this high concentrate grain feed. “ Field losses at harvest may be reduced by 5 to 10 percent. Losses average about 13 percent for 15% moisture grain vs 2 percent for 26% moisture grain.” ( from department of animal sciences of the University of Missouri, in reference to corn and milo harvested early as high grain feed for beef cattle.) Information gained from Richiger R950MX brochure, 2017. 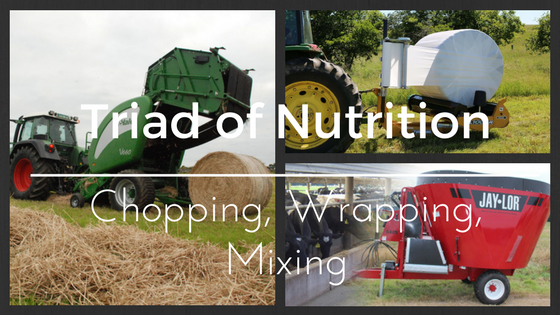 While we know that chopping hay while baling, making baleage, and feeding it to your cows with a TMR mixer increases your operations feed value, the true triad of nutrition includes all three of these techniques. By combining all three of these practices you can achieve optimal feed value resulting in more pounds of beef and more pounds of milk. Let’s define why each of these techniques individually helps your operation, then discuss what combining all three can do for you. Chopper/Baler.Choosing a baler that has a chopper unit on it will make a tighter, chopped bale. These bales will be easier for the cows to eat and your cows will waste less because it gives them a smaller particle size to chew on. Balewrapping.Making baleage has been proven to preserve the feed value of your hay for cows. If you wrap high moisture hay, your rate of gain will improve on a straight hay ration (ie. you only need approximately 8lbs of baleage for a cow to gain 1 lb, whereas for them to gain that same 1lb you would need to feed them 25 lbs of dry hay.)
How do these machines complement each other?Chopping your hay will create the palatability needed if you put that bale in a TMR mixer when ready to feed. Having a chopped bale will always make your TMR mixer run faster, as the bale will take less time because it is pre-chopped. Adding silage to your TMR mixer immediately increases the value of the mix because of the added nutritional value of the bale. Add this with your other ingredients like grains, remixes and feed additives, and your cows will produce more weight and more milk because they get all the ingredients you want them to have, not just the ones they have picked through. Want to stay connected? Follow us below! 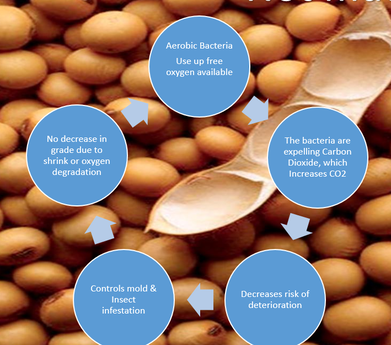 Oxygen free storage is a concept that has hit the United States farm market recently, although the concept has been around in other parts of the world in recent history for about 40 years, and also dates back to times B.C. But what exactly is oxygen free storage? Lets get scientific. Inside a grain bag is your grain, and whatever it goes in looking and smelling like is what it will come out looking and smelling like. The moisture level will be the same as the day you put it in. How does this occur? First, aerobic bacteria that is on your grain will use up the free oxygen available in the bag. While it does this, the bacteria are expelling Carbon Dioxide, which increases C02. Because of this, there is a decrease of deterioration in your grain, as well as controlling mold and insect infestation-because bugs cannot live without oxygen. There is no decrease in grain grade due to shrink (like in a grain bin) or oxygen degradation. So essentially there is not much going on inside the grain bag except protection from the outside world, which is just what you want. This way, you can store your grain when you want to and sell when you want to-resting assured that your grain will come out just as it went in. Oxygen free storage can be stored up to 24 months. the storage is conveniently right on your farm, in the field, or wherever you choose to place them. This gives you the leverage to sell the grain when the market is right and it saves you money on fuel prices back and forth to the bin because you can bag right where you are harvesting, if you wish.
|


 RSS Feed